Plane Detector - IoT PoC
Internet of Things is one of the most relevant technologies nowadays. The computing capabilities of small integrated circuits has increased during last years, while Big Data is also becoming more relevant.
You can think of a simple IoT device as one that executes a small piece of code that involves gathering data from one or more sensors and sending it to a network, so it can later be processed together with data posted by other IoT devices. This enables the possibility, for example, to deploy IoT devices around a city to measure pollution levels in each area.
During the Summer Course at the ISCTE-IUL Instituto Universitário de Lisboa, I had the opportunity to get into IoT world:LORA WAN, cloud computing, interactive systems, security challenges, etc. At the end of this week’s course, we did several projects in groups and, in our case, we created an IoT Proof of Concept: The Plane Detector.
The Idea
If you have not been to Lisbon, you may have not yet realised what I am talking about: the city is too close to the airport. In fact, the university is the best example: every hour lots of airplaines cause enough noise pollution to stop the lectures.
In order to measure this noise pollution, we have used an Arduino Nano CHIP with a acoustic sensor to detect the sound disturbance. This Arduino was connected to The Things Network, a LoRa public WAN, which had several gateways were placed around Lisbon.
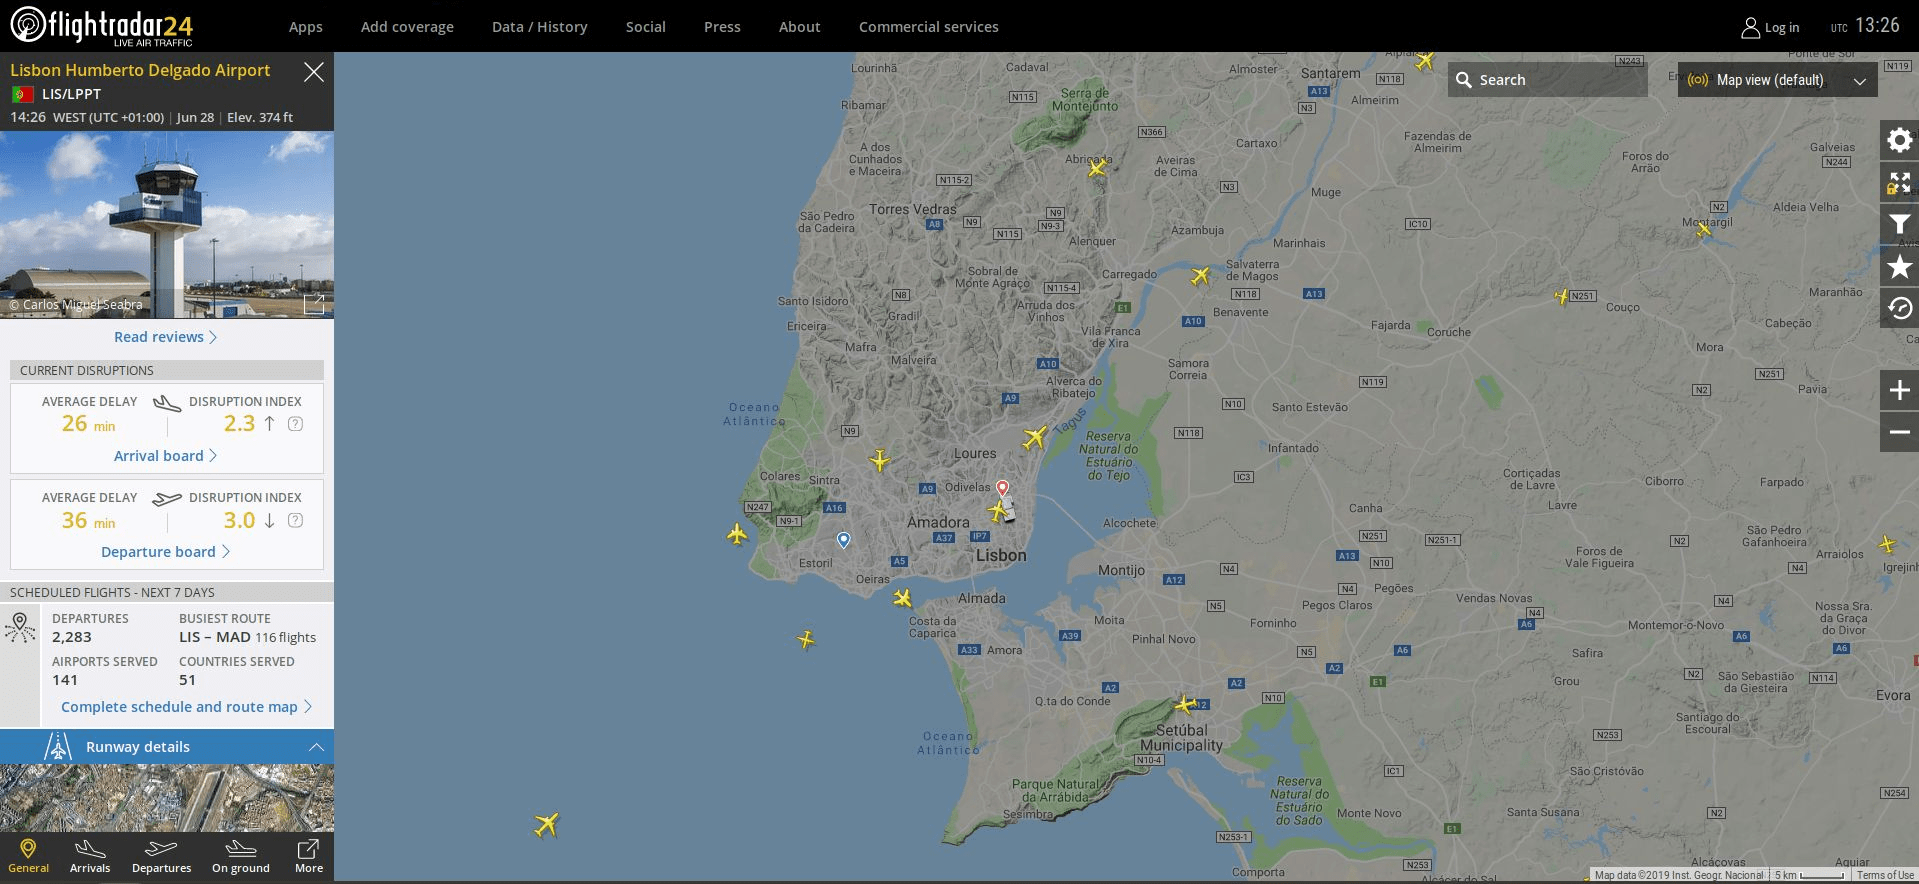
Image: Planes over Lisbon
Architecture

Image: Architecture of the Plane Detector project
The main idea of the project is to have the IoT device sending data to a database and to our phone:
- IoT device, Arduino Nano with antenna.
- The Things Network (TTN) gateway.
- Node-RED middleware.
- Cloud database: Google Firebase.
- IFTTT account and Android App.
IoT device

Image: The Things Network Gateways in Lisbon
Connection
The device is connected to TTN through LoRa. In order to connect to the network, it is needed to register the device in the network so you can authenticate it to allow posting the data to a TTN Gateway.
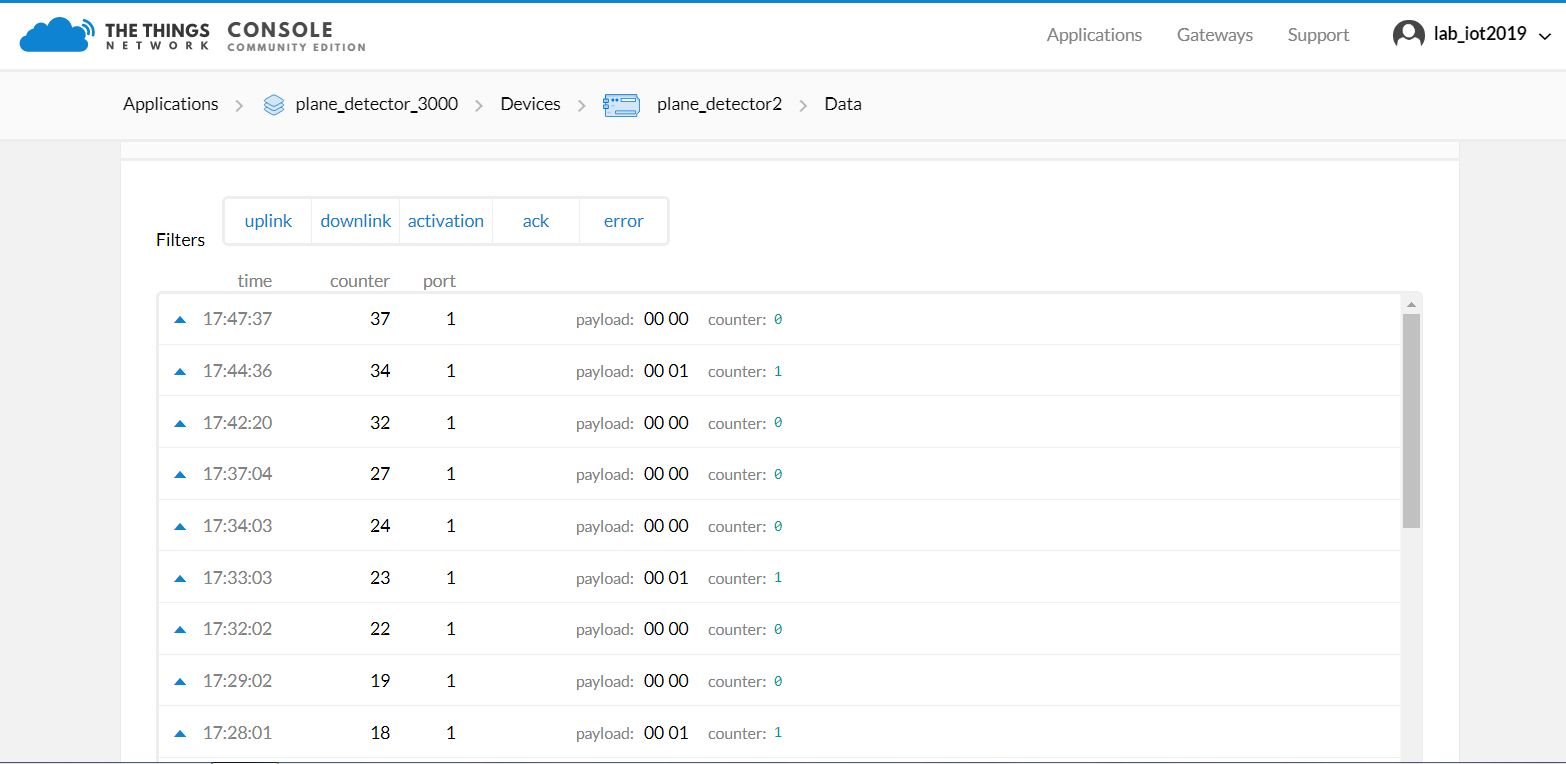
Image:TTN console
In the device, you will use this APP Key to authenticate each data POST. We used the LMIC Arduino Library.
Library configuration to connect to the TTN:
#include <lmic.h>

static const u1_t PROGMEM APPEUI[8] = { /*Your hexadecimal key goes here*/ };
void os_getArtEui (u1_t* buf) {
  memcpy_P(buf, APPEUI, 8);
}

static const u1_t PROGMEM DEVEUI[8] = { /*Your hexadecimal key goes here*/ };
void os_getDevEui (u1_t* buf) {
  memcpy_P(buf, DEVEUI, 8);
}

static const u1_t PROGMEM APPKEY[16] = { /*Your hexadecimal key goes here*/ };
void os_getDevKey (u1_t* buf) {
  memcpy_P(buf, APPKEY, 16);
}
Sending to the LoRa WAN function:
void do_send(osjob_t* j, int counter) {
     byte payload[2];

  // Check if there is not a current TX/RX job running
  if (LMIC.opmode & OP_TXRXPEND) {
    Serial.println(F("OP_TXRXPEND, not sending"));
  } else {

      payload[0] = highByte(counter);
      payload[1] =lowByte(counter);

      LMIC_setTxData2(1, payload, sizeof(payload), 0);
      Serial.println(F("Packet queued"));

    }
}
Sensor calibration and edge computing
As the sensor is a simple acustic sensor module, it only provides an analog measurement. Then, for detecting noise levels, we need to loop for some time on an analogRead and establish a threshold.
Once this threshold is reached, a plane may be detected. Then, we add one to the plane counter. At this point, you may think: why don’t we send this directly to the LoRa WAN? The reason is that a LoRa network is not reliable, and the packets are often lost. If we loose some packets, we are not able to establish an accurate measure of the detected planes in a given time.
Therefore, we establish a time period of, say, 5 minutes, and we count all detected planes within this time. That way, if the packet reaches the middleware, we know this measure is accurate in the time period. Should a packet get lost, we simply have no data of the time period.
void loop() {
  if (joined == false){
    os_runloop_once();
  }
  else{

    long sum = 0;
    bool plane = 0;

    // Main loop. Stops when detecting a plane for 10 sec
    while(!plane){
      os_runloop_once();
      for(int i=0; i<2000; i++)
      {
          sum += analogRead(pinAdc);
      }

      sum >>= 5;

      if (sum>threshold){
        Serial.println("Plane detected!");
        plane = 1;
        counter++;
      }
      else{
        delay(400);
      }

      t2 = millis();
      unsigned long dif_time = t2-t1;

      if (dif_time > sendDelay){

        // SEND
        do_send(&sendjob,counter);
        os_runloop_once();

        // Reset counter and time
        counter = 0;
        t1 = millis();

      }
    }
   // Plane detected, waiting...
   delay(15000);

  }

}
Finally, it is very important that, once the theshold is reached, the measurement stops for a while. That is because during the time the plane passes above the device, this threshold can be reached more than once, so more than one plane would be counted.
Node-RED and Firebase
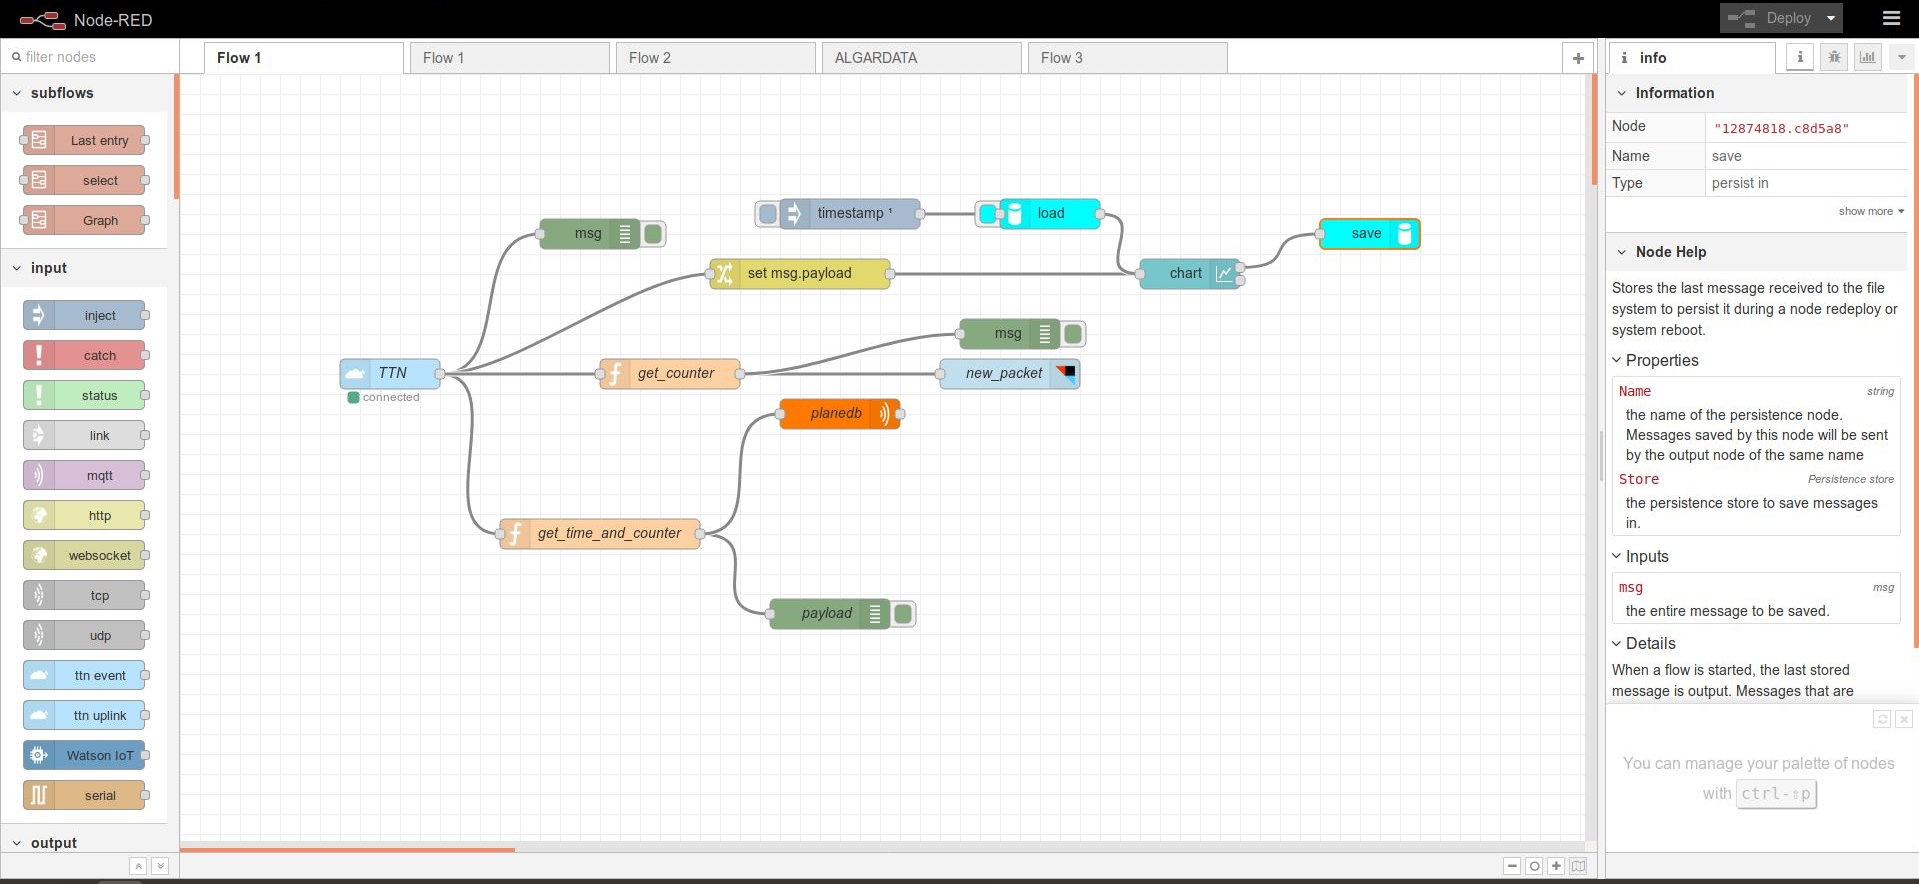
Image: Node-RED diagram
As it can be seen, Node-RED allows the use of simple diagrams to add logic to the middleware. This helps us to build quickly a PoC running in the cloud. Basically, this middleware stores the data in Google Firebase database, saves it to visualise it and sends it to a webhook for push notifications, upon each data post.
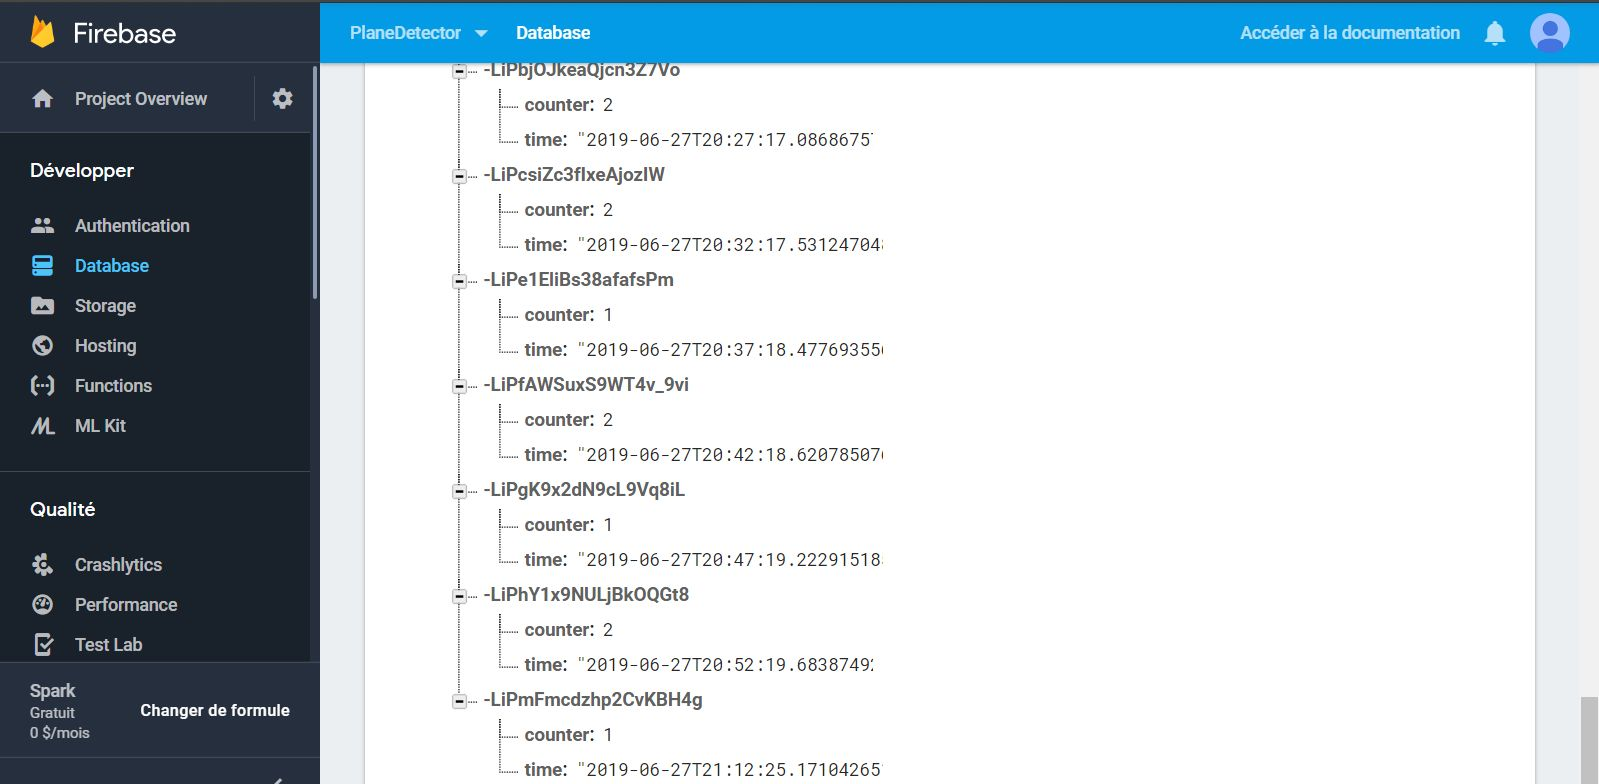
Image: Google Firebase panel
Push notifications through a Web Hook
As a last step, we also ilustrated the possible data integration with other applications. For this, we used IFTTT (If This Then That) to easily generate push notifications in a smartphone with the IFTTT Android app.
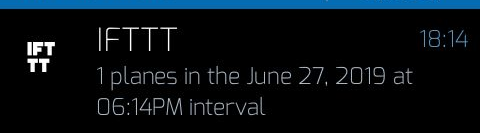
Image: Push notification in IFTTT
Obrigado!
References
- Code of the Arduino device: https://github.com/martinord/plane-detector