Certificates and electronic DNI
The transition to the digital world in all fields we interact with daily is fact, including public administration. Nowadays, in order to apply for a scholarship or even to complete the income statement, we use computer systems that better manage and store all this information.
However, identities in the digital world are not verified the same way and, as much delicate information as income statement is involved, it is very important to manage identities in a very modern and secure way.
If you want to know the how-to, jump to the tutorial
What is authentication?
In the real world, many procedures require to verify the identity of a person. For example, when you attend an important exam, when you collect a packet or when you do international trips. This often involves showing some type of document that proves this identity, like passport or an id (DNI in Spain).
Similarly, in the digital world, our identity is also daily verified, even in the social media. Every time we log into Facebook, for example, our identity is being verified, which we prove by our username and password. Another similar case is every time we unlock our smartphone with the fingerprint, which is very common in the new devices nowadays.
Actually, there are three general means of authenticating (verify an identity) in the digital world:
- With something we know. For example, a password.
- With something we have. For example, a certificate.
- With something we are. For example, a fingerprint.
Well, we know what a password is, and what a fingerprint is but, what is this thing called a certificate?
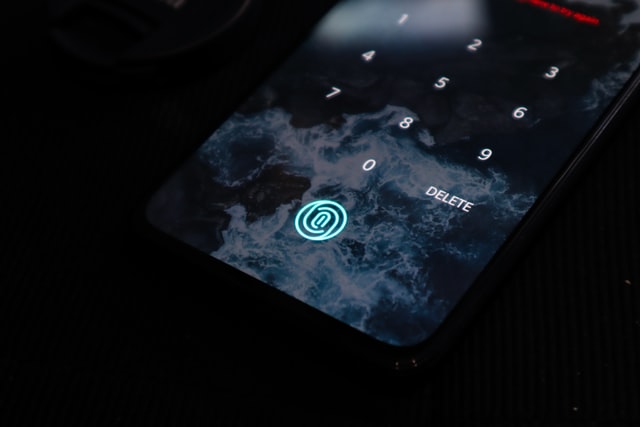
Image: Fingerprint authentication in mobile devices
Digital certificates
In order to avoid getting into public key cryptography in this post, we will assume that a digital certificate is a file that holds a key. A key is like a password, but much longer, and randomly generated. The certificate that holds the key, also proves that this key is authentic, as it is signed digitally by a recognised identity.
This key or certificate is something we have, a file, that can be installed in a browser in order to use it to log into a web app. For instance, the income statement page. A certificate can also be used to sign documents, but this will be covered in another post.
Nowadays, Spanish administration allows applying for a natural person certificate here, which requires to arrive to an authorised office in order to obtain a code by email, which we will use to obtain (generate) the certificate.
No matter the what we use it for, it is very important not to share it with anyone, as any other physical world key, this can be copied if we let it to someone else and we would not realise. For this reason, when a certificate is obtained and it is stored (exported) into an USB to use it in another computer, we are asked for a password to cipher it. That is, is someone steals the key, they need to know the password to use it. However, when a certificate is installed in a browser, it does not require a password to use it.
The electronic DNI: the Spanish ID card
The DNI (Documento Nacional de Identidad) is the Spanish ID card. This is a card that was evolving along the past years, but which objective has always been the same: verify the citizen’s identity. With the new version, the electronic DNI, the card became to be able to verify identities also in the digital world.
The electonic DNI is not more than a Smart Card (with a CHIP) that stores our certificates in a secure way. In fact, if our DNI gets stolen, these certificates cannot be copied, dislike the certificates mentioned before.
The smart card has to be connected to the computer to work. In fact, it is inside the card were all cryptographyc operations that verify our identity are performed, and not inside the computer. For this reason, the certificates do never leave the DNI itself.
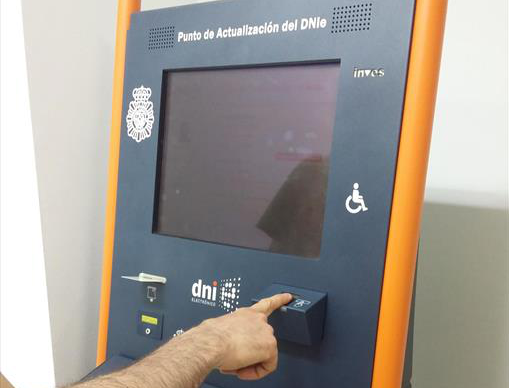
Image: Electronic DNI update machine
In order to use them, in any DNI expedition police office, there are machines that allow us to activate (generate) them. For this we need the fingerprint to authorise the operation, and we are asked for a PIN (actually, a password) to protect our DNI. In the case we loose the DNI, eventhough it could not be copied, someone could use the DNI itself. This way, each time we want to use it, we need to unlock it with this PIN.
How to use the certificates and the DNI
Now we know what the certificates and the electronic DNI are, we need to get on with it. In this case, we will consider the authentication in web services, and we will leave signing documents for another entry.
Ingredients:
- Electronic DNI (activated: we know the PIN :D)
- Browser (Firefox or Google Chrome, for example)
- A Smart Card reader.
Windows receipt
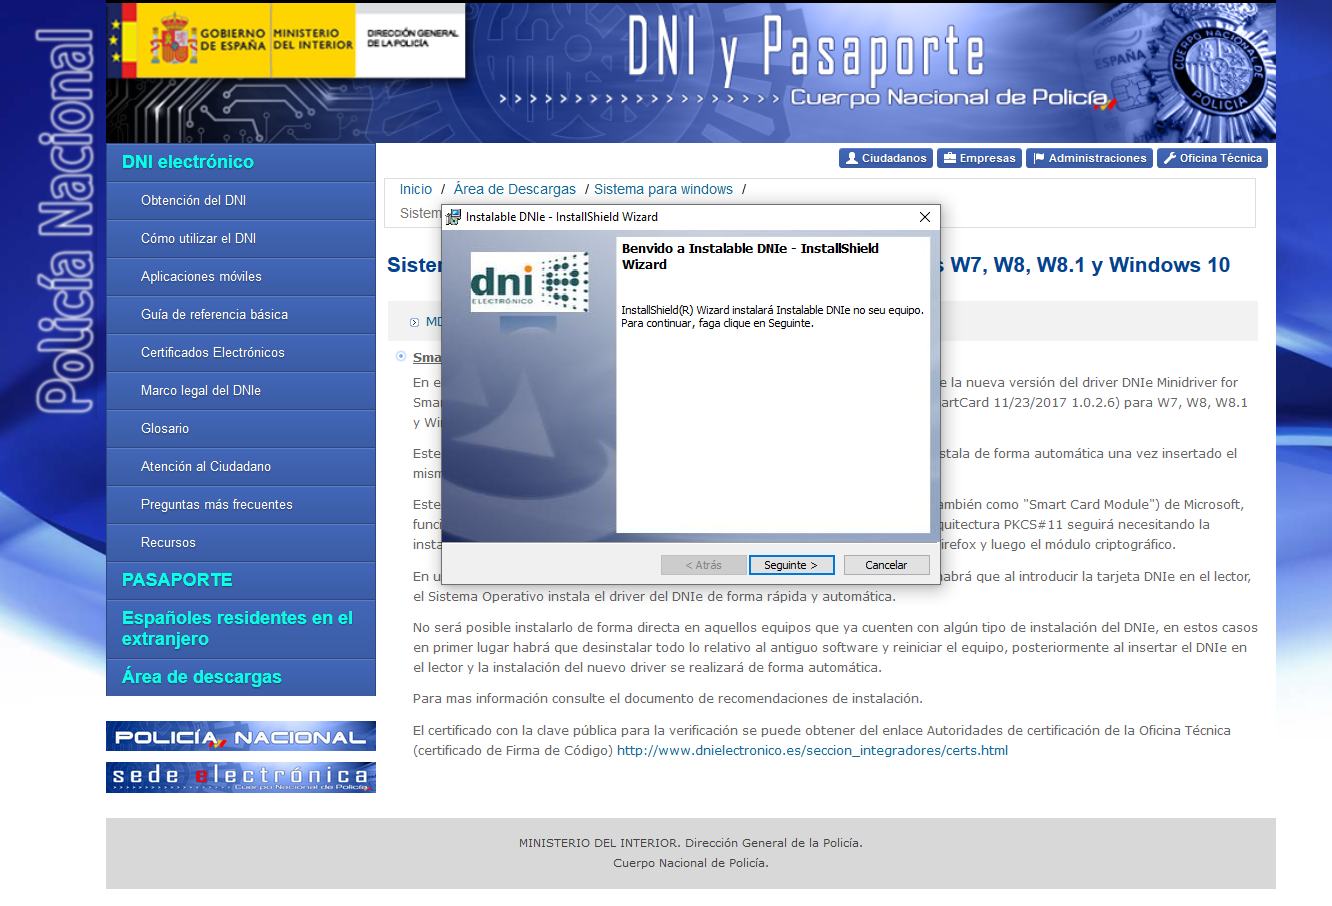
Image: Drivers installation in Windows for the electronic DNI
Briefly, if we have the ingredients, the receipt will simply consist in installing a driver (download and execute). There even are some readers that do the installation for us. If you use Firefox, there is a more manual process. This is because Google Chrome and IE use the Smart Card Mini Driver architecture, while Firefox uses PKCS#11.
General steps
- Install the Smart Card Mini Driver from here. (downloads dnielectronico.es)
- Close the browser and install by executing the
.exefile. - Plug the card reader in and the electronic DNI inside it.
Firefox installation:
- Check the PKCS#11 module is correctly installed in Firefox:
- Menu > Preferences > Privacy and Security > Security
- Select Security Devices.
- If the module is not found, manually fill it:
C:\Windows\system32\DNIe_P11_x64.dllor the equivalent.
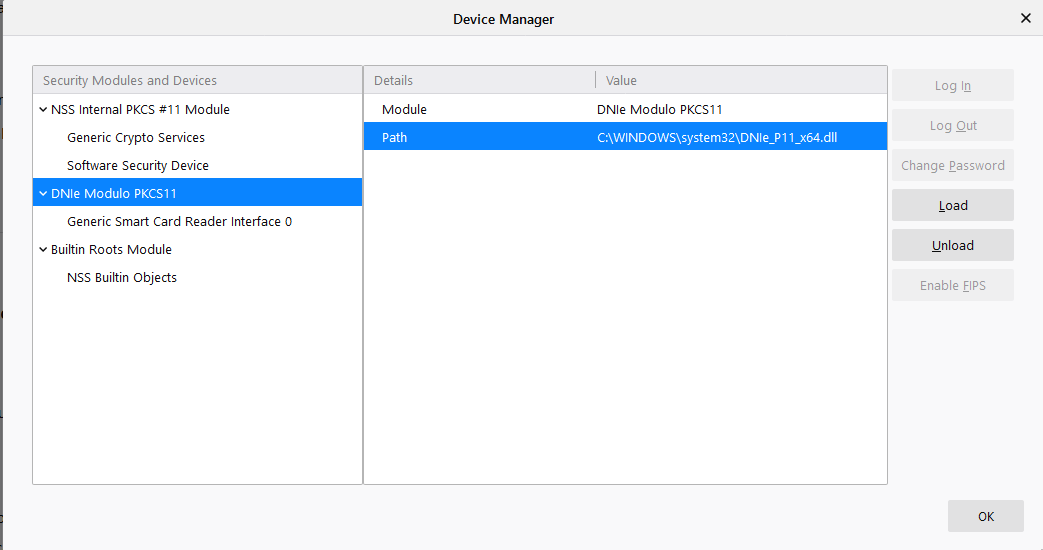
Image: PKCS#11 module load in Firefox (Windows)
Linux receipt
In this case, we need to follow the steps of the PKCS#11, like Firefox in Windows. Also, once we have the ingredients, we only have to install the necessary drivers in the system and do the manual installation in Firefox.
Driver installation
- Install the PKCS#11 module from here. (downloads dnielectronico.es)
- Close the browser and install the packet.
- Inside the
/usr/share/libpkcs11-dnietifdirectory there are the CA root certificates and a static html page with the instructions. - In Firefox, go to Menu > Preferences > Privacy and Security > Security.
- Click in See certificates. In the tab Authorities, we import the certificates (
.crt) of the directory in step 3, as it is told in the instructions of the html in the same folder. - In the same menu, click on Security devices, and we install the installed module for us to access the card:
/usr/share/libpkcs11-dnietif.so. - We install the dependency for Linux to recognise the card reader Common Card:
pcscd.
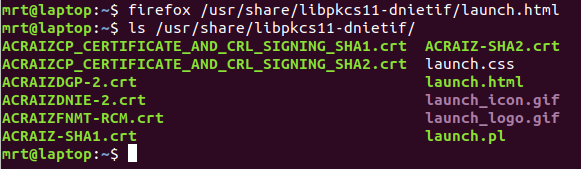
Image: Drivers post-install directory in linux
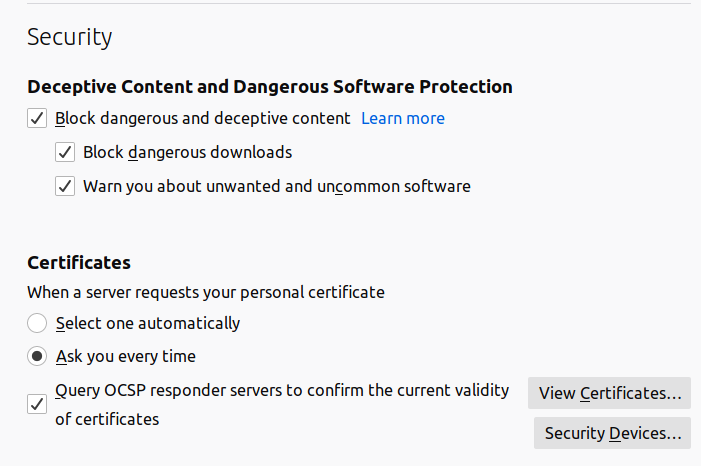
Image: Firefox menu in Linux
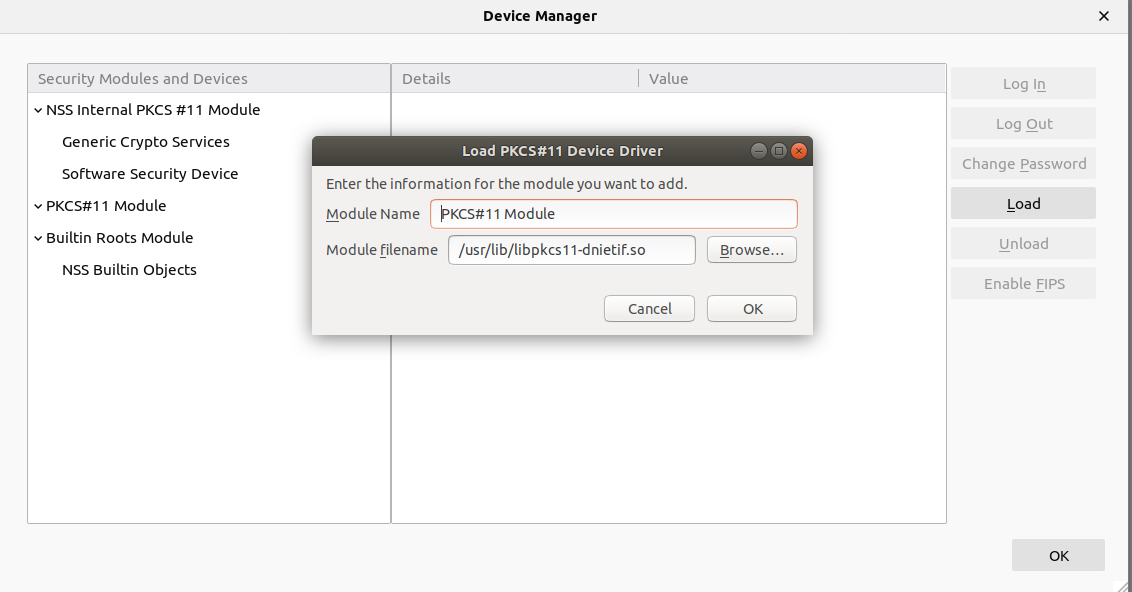
Image: PKCS#11 module load in Firefox (Linux)
Obrigado!
1144 Words
2020-05-24 12:05