Hugo, a static site generator

A website is nothing but HTML files, served by a web server and displayed in a web browser. However, these files can be written manually or generated automatically. What is the difference? In this post I will write about a recent, quick and efficient CMS I am actually using for this web.
>$ disclaimer -m "Some technical knowledge like the following section is basic, although important to understand. Feel free to skip it."
Static websites
This blog is an example of a static website. It is static because it does not change from one request to another: different users at different times see the same content.
Dynamic websites are those that change … right? An easy example is one of your favorite e-commerce websites. They change the contents when they update your shopping cart, or when they suggest other “interesting” products to you. This means that the server produces HTML files which have different contents for each client, and different content for each time. Voilà: dynamic websites.
Another disclaimer: the truth is that modern dynamic web pages change dynamically on the browser. These are named SPA and will cover them in another post.
Hugo: a generator written in Go
Hugo is the name of a tool that can be used for generating HTML files that together compose a website that can be served by a web server. Why would you need a generator? What is the purpose?
Image: GoHugo project available at https://gohugo.io/. Hugo is a static site generator.
Hugo is an efficient but limited CMS
Hugo is nothing but a Content Management System (CMS): a software that is “used to manage the creation and modification of digital content”1. However, there are other CMSs which are used in many websites, like Wordpress (https://wordpress.org), followed by others like Drupal (https://www.drupal.org/).
The difference is that Hugo generates static HTML files once and then serves them through a web server. Whenever you do a change like adding a new page, you execute hugo and it re-generates all static web files for you very, very, very quickly.
Alternatives to Hugo
- Most popular CMS, used in many websites: https://wordpress.org
- Complex but powerful CMS: https://www.drupal.org/
- Very similar to Hugo, used in Github Pages: https://jekyllrb.com/
- A modern alternative written in Nodejs: https://ghost.org/
How to use Hugo
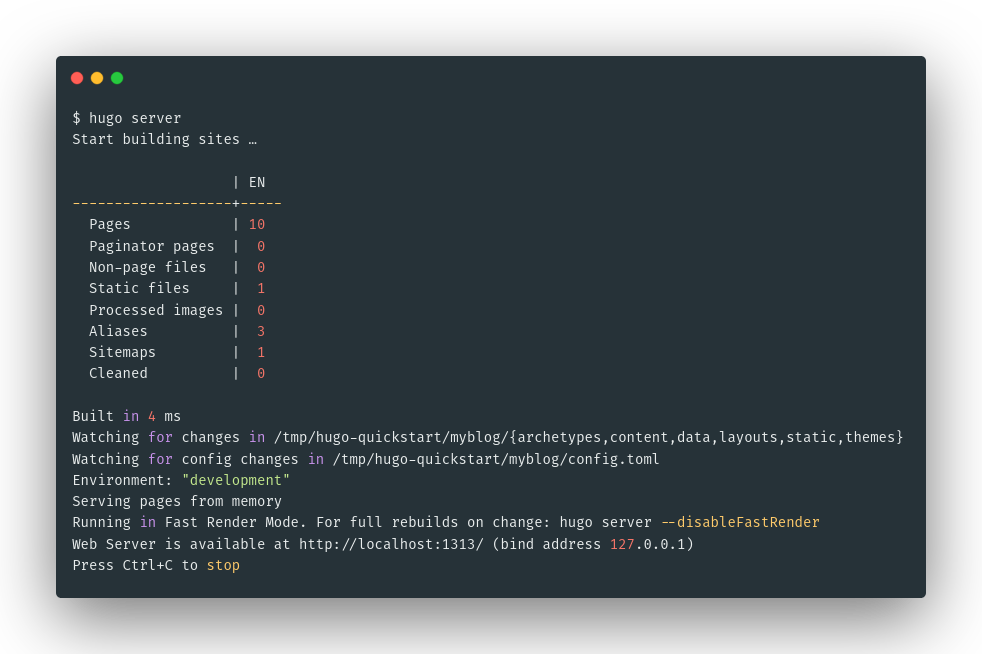
Image: Executing hugo in the CLI.
Step 1: Install it
For a quick start, I’d recommend using the brew package manager. Let’s install it first, and then use it for getting Hugo:
/bin/bash -c "$(curl -fsSL https://raw.githubusercontent.com/Homebrew/install/HEAD/install.sh)"
brew install hugo
hugo version
Step 2: Choose a theme and configure it
A theme is a template you will use for your website, which will provide some front-end features and design. There are many you can choose from here: https://themes.gohugo.io/.
We will use Minimal, for example (https://themes.gohugo.io/minimal/).
hugo new site myblog
cd myblog/themes
git clone https://github.com/calintat/minimal/
cd ..
When you use a theme, you will configure general and specific settings, which will be found in the theme documentation. These are set in your config.toml file. In this example, we will use the exampleSite configuration included in the repository:
cp themes/minimal/exampleSite/config.toml .
hugo server --port 1313
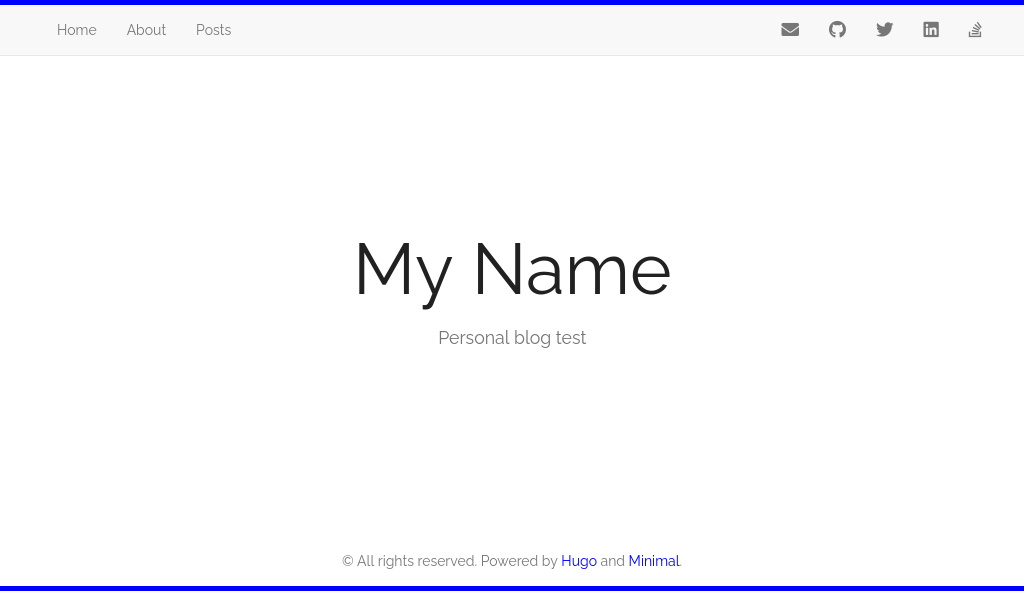
Image: Example of the generated static web with Hugo.
You can also edit it yourself. You can check the Hugo documentation and the theme documentation. For example:
baseURL = "http://martinord.eu/"
languageCode = "en-us"
title = "My Name"
theme = "minimal"

[params]
    author = "Martiño Rivera"
    description = "Personal blog test"
    githubUsername = "#"
    accent = "blue"
    showBorder = true

[[menu.main]]
    url = "/"
    name = "Home"
    weight = 1

[[menu.main]]
    url = "/about/"
    name = "About"
    weight = 2

[[menu.main]]
    url = "/posts/"
    name = "Posts"
    weight = 3

[[menu.icon]]
    url = "https://github.com/martinord/"
    name = "fab fa-github"
    weight = 1
Now, go to your browser at http://localhost:1313/.
Step 3: Write a post
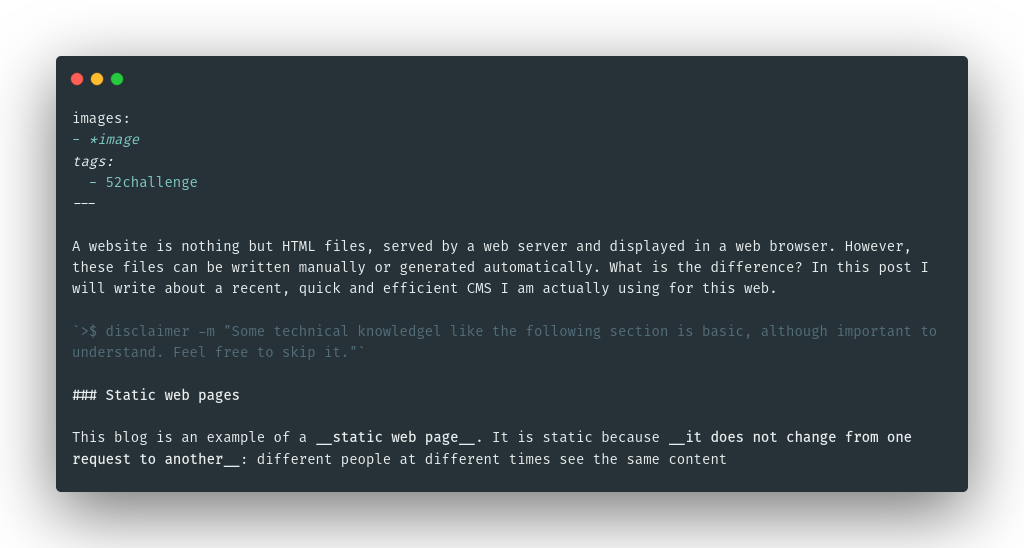
Image: Markdown example of this post before HTML generation.
For writting a new post, you can generate the Markdown template and then edit it.
hugo new posts/my-first-post.md
cat content/posts/my-first-post.md
Step 4: Generate and deploy your web!
After writing your posts and static pages with Markdown, you can generate the static HTML files by executing hugo. These will be placed in the /public folder. For serving them, you can use a web server like Nginx. We can cover the deployment in another post!
Obri! Hope you enjoyed this second post of the #52challenge